Segues are a useful navigation pattern used on iOS to transition between view controllers. This post will show how to work effectively with segue-related code in a number of common use cases (TL;DR, read this).
One major benefit of using segues is that the transition from a source view controller to a destination view controller can be entirely encoded in the storyboard and no code is needed to manage the presentation.
One exception to this is when custom segues are needed, as it the case when custom presentation controllers - more on this below.
Segue creation and preparation
Given a storyboard with a source view controller with a button, a simple segue to a destination view controller can be created by simply selecting the button and CTRL+dragging to the destination view controller:
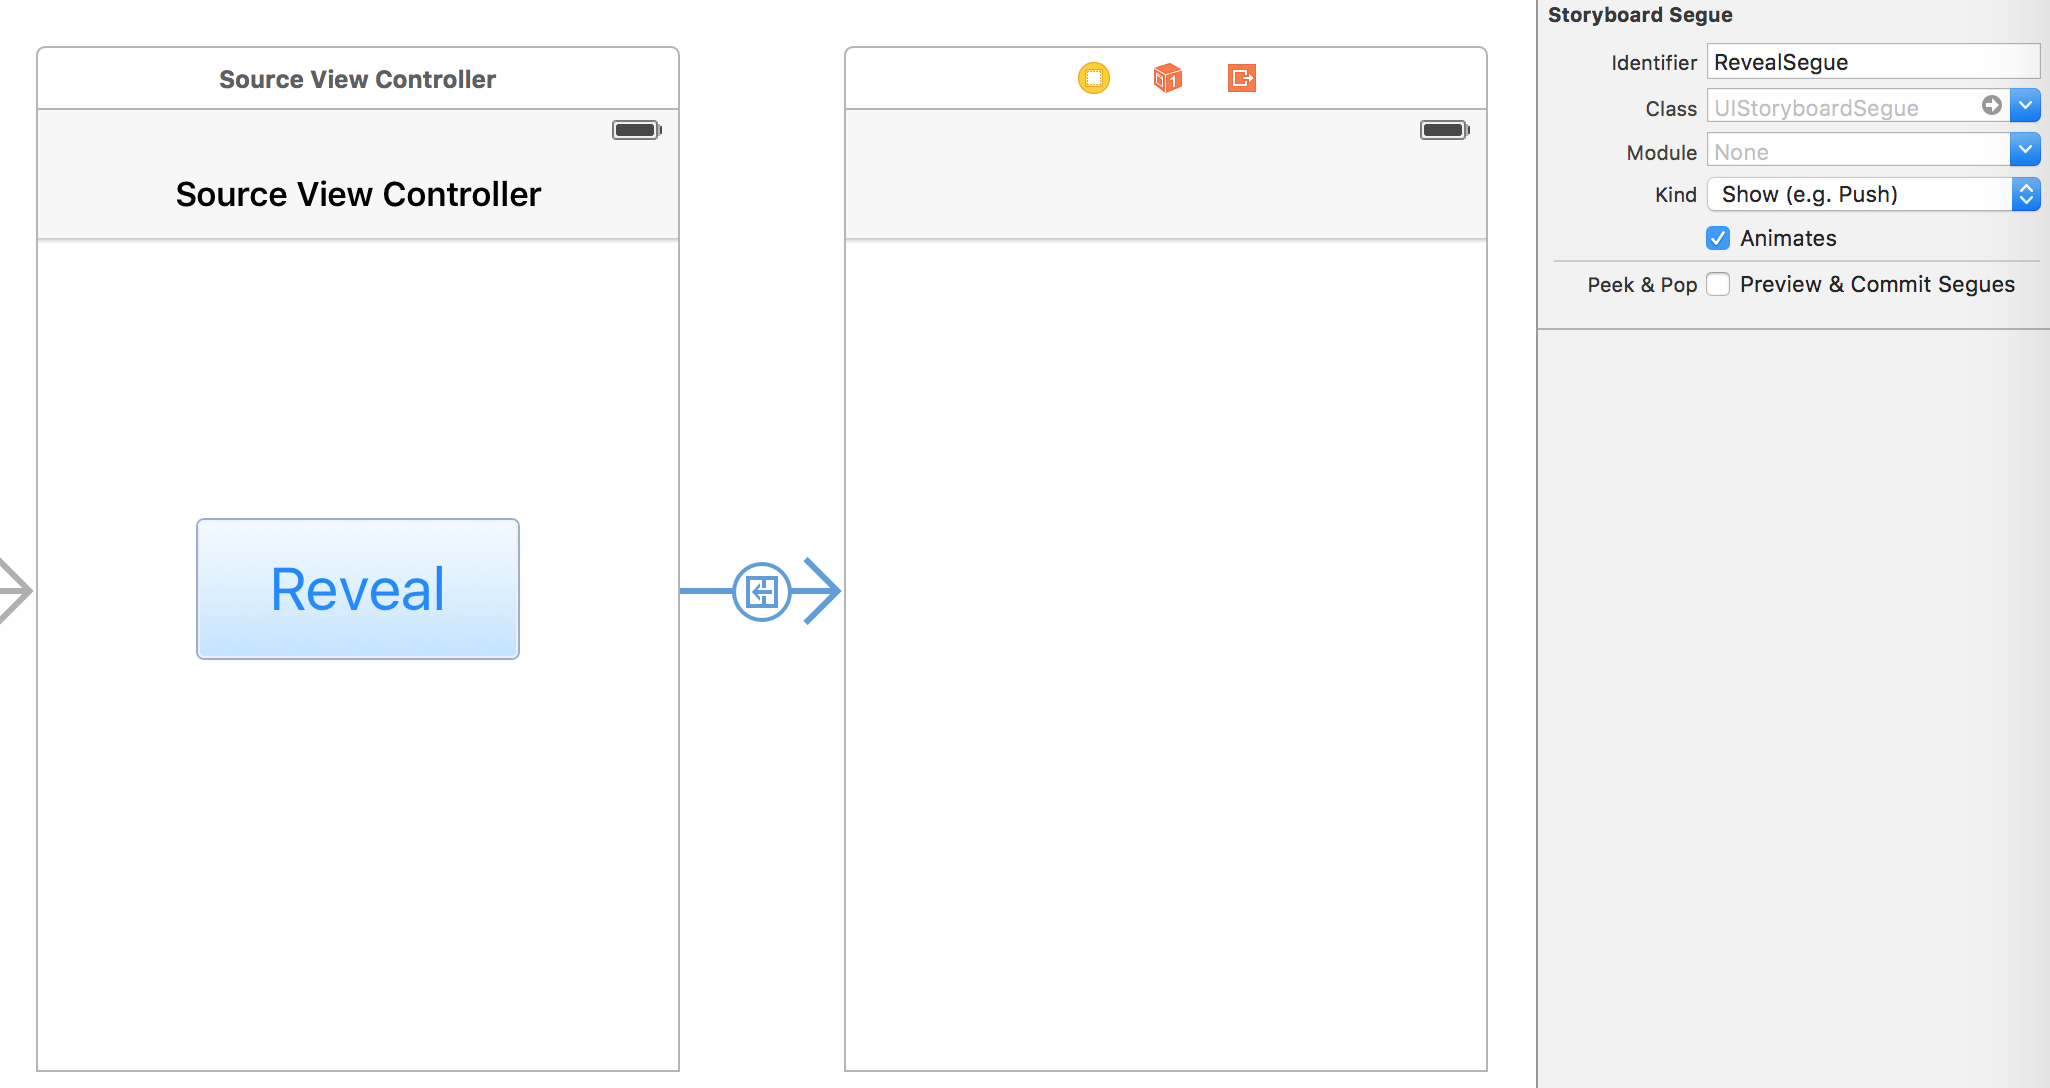 Creation of a segue from a button to a destination view controller
If needed, it is possible to override the prepareForSegue method in the source view controller class in order to configure the destination view controller, like so:
override func prepareForSegue(segue: UIStoryboardSegue, sender: AnyObject?) {

    segue.destinationViewController.title = customTitle()
}
One thing to note here is that the prepareForSegue method is called before the destination view controller is presented. This means that the destination view controller can define the properties to be configured as implicitly unwrapped optionals, and assume these will be immutable and non-nil by the time by the time viewDidLoad is called:
class DestinationViewController: UIViewController {

    var viewModel: ViewModel!

    @IBOutlet var label: UILabel!

    override func viewDidLoad() {
        super.viewDidLoad()

        // viewModel should be set by prepareForSegue. It it's not,
        // the app will crash and can be easily fixed.
        label.text = viewModel.text
    }
}
UITableView/UICollectionView cell segues
A more interesting use case is how to configure a detail view controller with the data associated to a UITableViewCell or UICollectionViewCell which triggers a segue when selected. The required navigation flow can be setup in the storyboard:
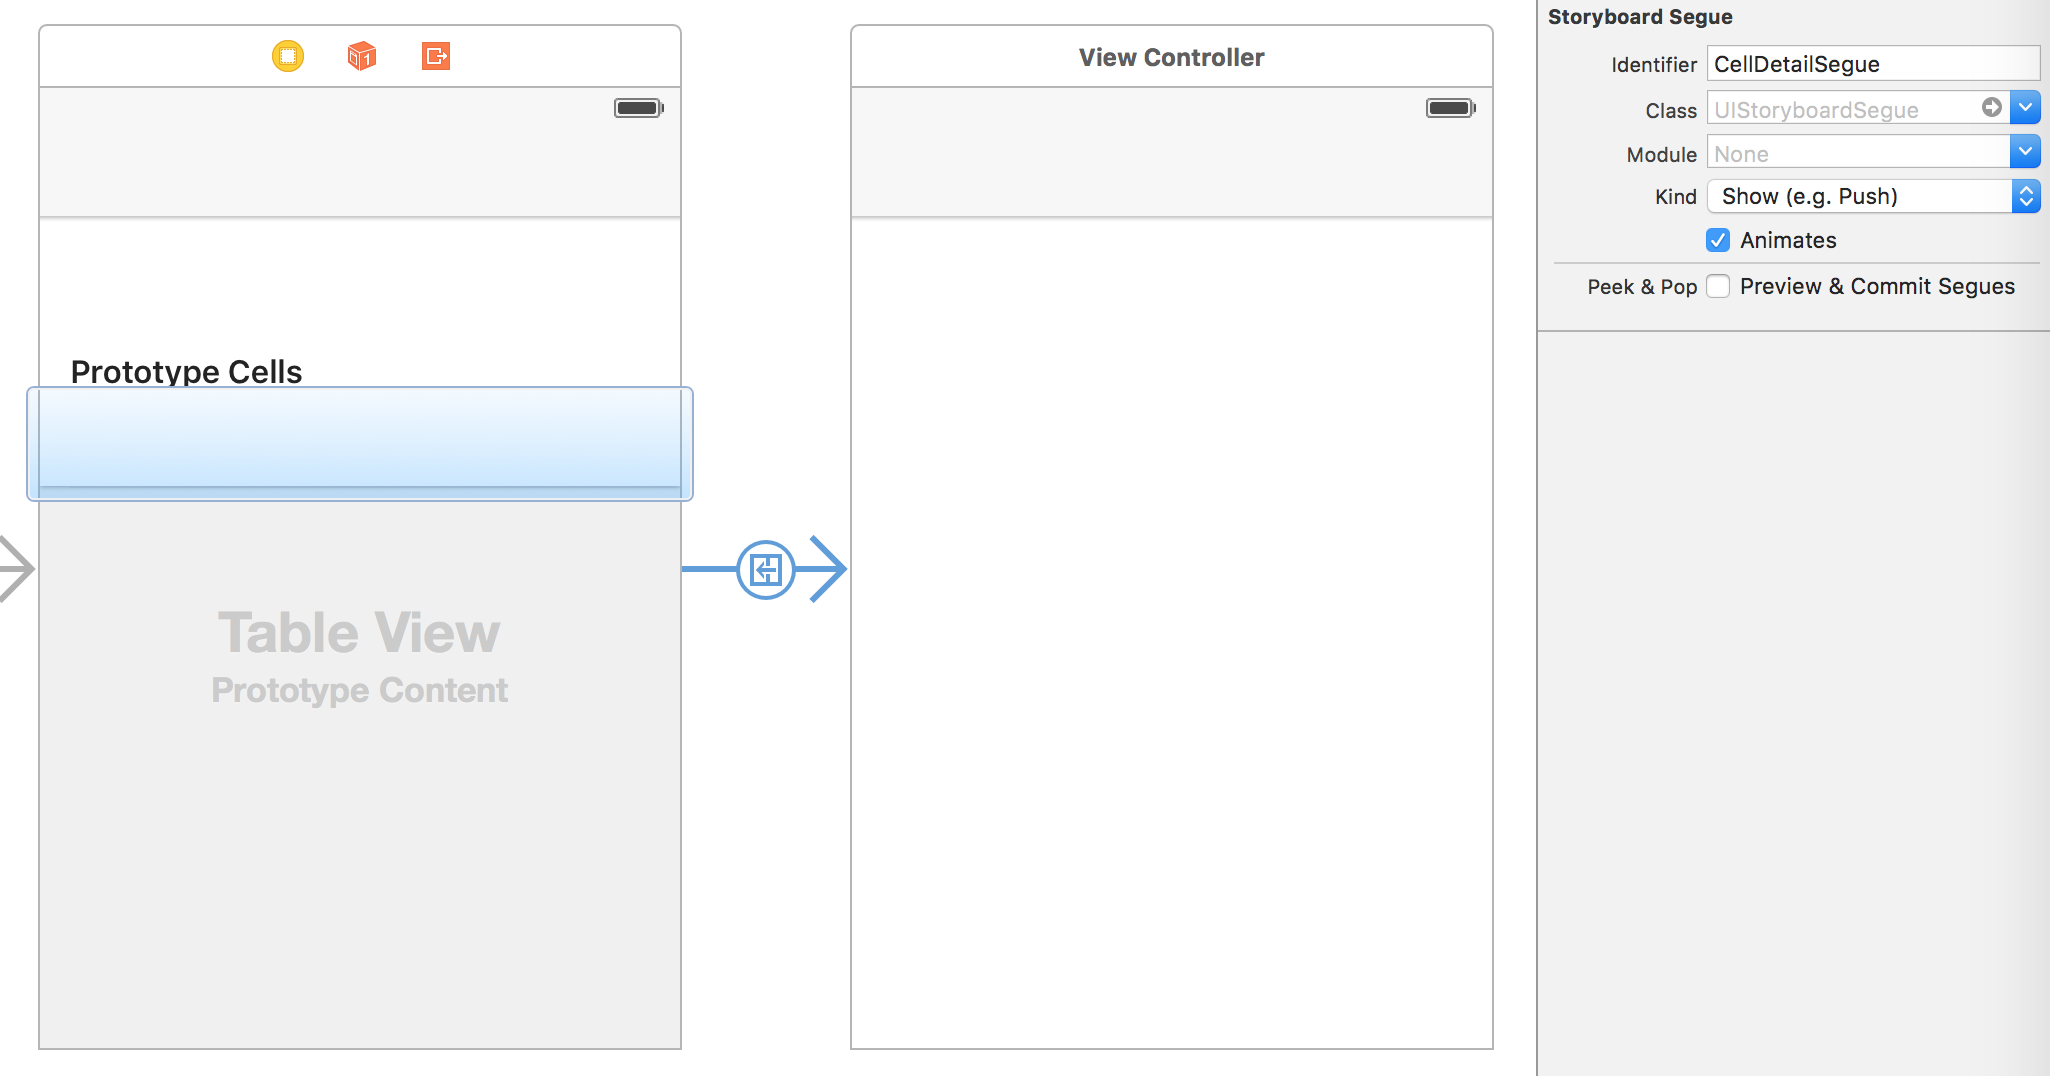 Creation of a segue from a cell to a detail view controller
Let’s assume that our data source is an array of items and that we want to configure our destination view controller with the the item corresponding
to the indexPath of the selected cell.
As the segue is triggered from a cell in our table view, the sender object in the prepareForSegue will be the cell itself, and we can retrieve the indexPath for the cell as tableView.indexPathForCell(cell) and use it to reference our data source array. Example:
class ViewController: UIViewController, UITableViewDataSource {

    @IBOutlet var tableView: UITableView!

    var dataSource: [DataItem]

    // MARK: UITableViewDataSource
    func tableView(tableView: UITableView, numberOfRowsInSection section: Int) -> Int {
        return dataSource.count
    }

    func tableView(tableView: UITableView,
                   cellForRowAtIndexPath indexPath: NSIndexPath) -> UITableViewCell {

        return tableView.dequeueReusableCellWithIdentifier("cellID")!
    }

    override func prepareForSegue(segue: UIStoryboardSegue, sender: AnyObject?) {

        if let cell = sender as? UITableViewCell,
           let indexPath = tableView.indexPathForCell(cell) {

            let item = dataSource[indexPath.row]
            segue.destinationViewController.title = item.title
        }
    }
}
Note that by connecting the segue directly to the cell in Interface Builder, it will always execute unconditionally on cell selection.
If we need to only perform the segue conditionally, we should instead connect the segue to the source view controller and implement the condition in the didSelectRowAtIndexPath delegate call:
// MARK: UITableViewDelegate
func tableView(tableView: UITableView, didSelectRowAtIndexPath indexPath: NSIndexPath) {
    let cell = tableView.cellForRowAtIndexPath(indexPath)
    if shouldPerformSegue(cell) {
        self.performSegueWithIdentifier("CellDetailSegue", sender: cell)
    }
}
Presenting a popover on iPhone
With the introduction of presentation controllers on iOS 8 it’s finally possible to present popovers on iPhone as well as on iPad.
To do this, first we to drag our segue from a UIBarButtonItem or UIButton in our view controller and select the Present as Popover option in Interface Builder:
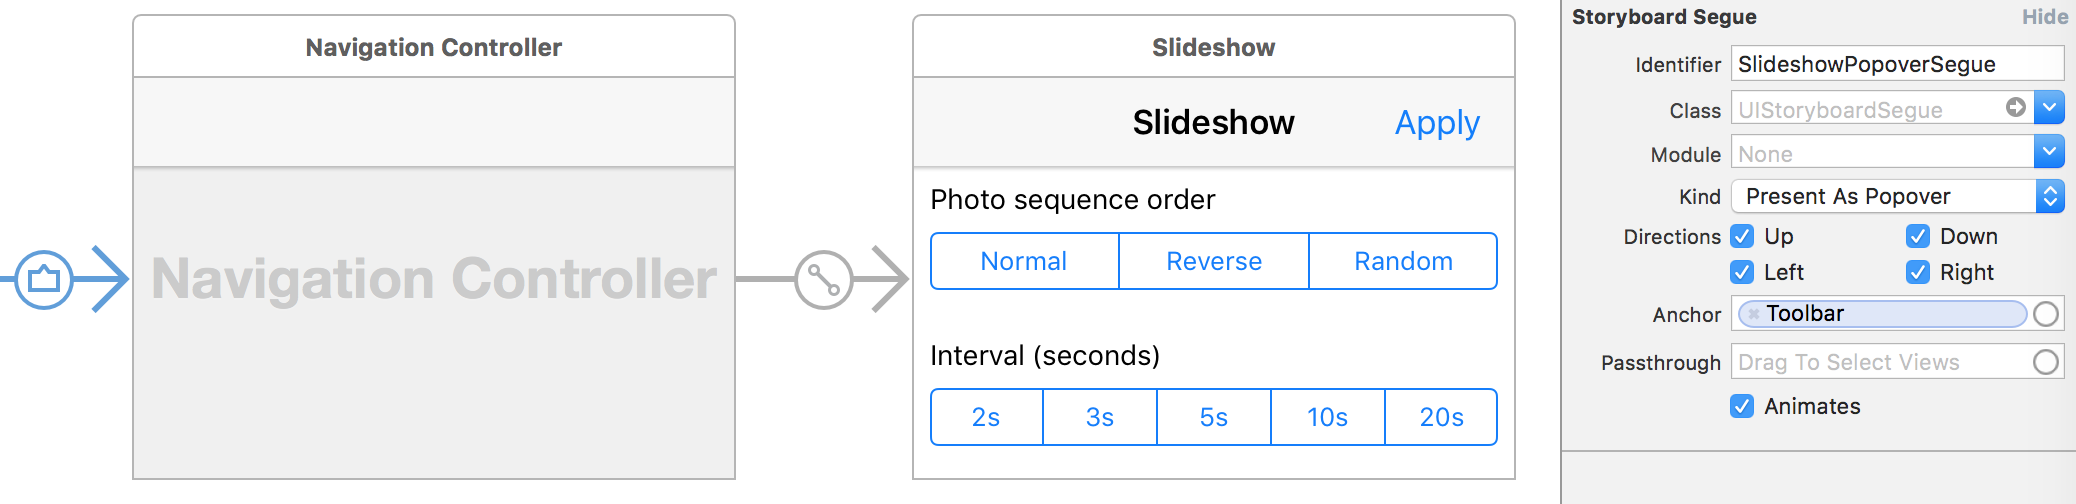 iPhone popover presentation
Then, we need to implement theadaptivePresentationStyleForPresentationController method of UIPopoverPresentationControllerDelegate like so:
class ViewController: UIViewController, UIPopoverPresentationControllerDelegate {

    @IBAction var sourceButton: UIButton!

    override func prepareForSegue(segue: UIStoryboardSegue, sender: AnyObject?) {
        if segue.identifier == "SlideshowPopoverSegue" {
            let contentViewController = segue.destinationViewController

            contentViewController.modalPresentationStyle = UIModalPresentationStyle.Popover
            if let popover = contentViewController.popoverPresentationController {
                popover.delegate = self
                // Set the sourceView and sourceRect so that the popover knows
                // where to position itself
                popover.sourceView = sourceButton
                popover.sourceRect = sourceButton.bounds
            }
        }
    }

    // MARK: UIPopoverPresentationControllerDelegate
    func adaptivePresentationStyleForPresentationController(
            controller: UIPresentationController) -> UIModalPresentationStyle {
        return UIModalPresentationStyle.None
    }
}
If we run this on iPhone, we see that our detail view controller is now presented correctly as a popover:
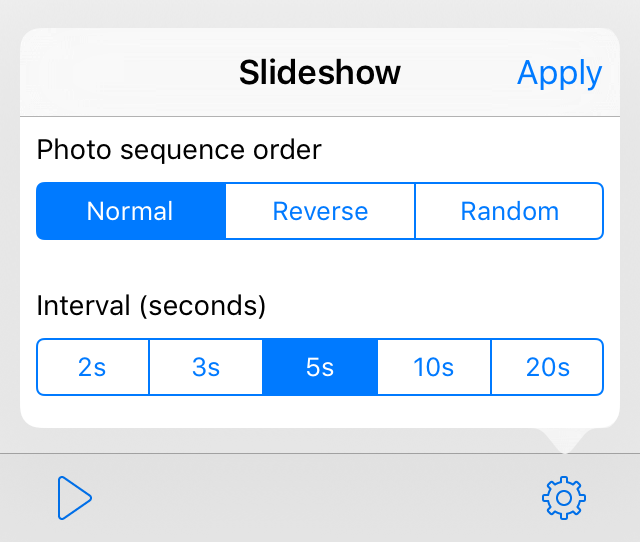 iPhone popover presentation
Summary
Leverage storyboards to define the navigation flow of your app and follow these rules to hook your code to your segues:
- Override the
prepareForSeguemethod to configure your destination view controller before it is presented. - When the segue is performed as a result of tapping on a button or a cell, hook in the source view directly to the button/cell.
- When the segue is performed conditionally, hook it to the source view controller and call
performSegueWithIdentifierif your condition evaluates to true. - For table views and collection views, use
indexPathForCellto get theindexPathneeded to index the data source inprepareForSegue. - Select the Present as Popover option and implement the
adaptivePresentationStyleForPresentationControllermethod to returnUIModalPresentationStyle.Noneto present the segue as a popover on iPhone.
References
- Apple Docs: Storyboard Segues
- PSPDFKit Blog: Presentation Controllers and Adaptive Presentations
If you liked this post, you can share it with your followers or follow me on Twitter!